
IDE (Integrated Development Environment):
There are so many IDE's available in market, some of them are:
There are so many IDE's available in market, some of them are:
Every IDE contains Editors, compilers, servers, browser, console etc..., If we use IDE, we no need to take the help of any external tools. Now let us know how to work with MyEclipse IDE.
When we start MyEclipse IDE, it asks for workspace folder, as shown in the figure1. We can provide any folder as Workspace folder.
 |
| MyEclipse IDE Startup screen |
When we supply the workspace folder in the back IDE creates a folder whose name is .metadata. This folder contains all the files related to IDE. We should no modify these files. When we carryout any operation on IDE it will be recorded in .metadata folder.
Procedure to create a project in MY ECLIPSE IDE:
Step1: File ==> New ==> Project |
| Fig: To open new project in MyEclipse IDE |
 |
| Fig: Select from List of projects |
 |
| Fig: Enter the project Name and Finish |
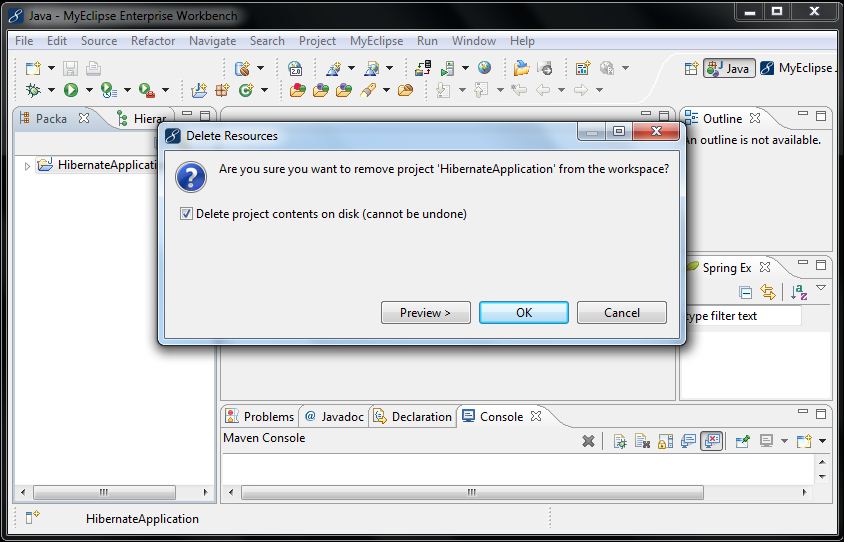 |
| Fig: Delete Project |
Procedure to create a Web Based Application:
Now let us see how to build a web based project using MyEclipse IDE. The following are the steps to follow:
Step1: File à New à WebProject
Step2: The above step displays a dialogue box, Enter projectName in that and make sure that ProjectName and Web Root Folder name is same and click on Finish.
 |
| Fig: WebProject |
Step1: Goto server view, right click and select an option Choose Server Connector, as shown in figure:
 |
| Fig: Server View |
Step3: To add the project to the server, just right click on the server, choose the option add deployment.
Procedure to configure IDE to interact with Database Server:
Step1: Open MyEclipse Database Perspective. |
| Fig: Database Perspective in MyEclipse |
 |
| Fig: Add Database |
 |
| Fig: Add Database server |
Great Article
ReplyDeleteJava Project Ideas for Final Year Students
FInal Year Project Centers in Chennai
JavaScript Training in Chennai
Java Training in Chennai
I loved your post.Much thanks again. Fantastic.
ReplyDeleteonline training in java
online training on java